Solr Installation - Creating a Task via Task Scheduler
This topic assumes you have already completed the following steps in regards to the installation of Solr on your KommerceServer web server.
- Install Java on your web server (you can skip this step if Java is already installed).
- Install version 5.4.1 of Apache Solr.
- Create a core directory on the Apache Solr UI.
- Copy core configuration files to your Solr directory.
- Update the db-data-config file with your database connection information.
- Start Solr from the Solr/bin directory.
- Create a Solr Core.
- Perform a full data import using the Solr UI.
- Modify the web.config file in KommerceServer.
Once you have performed the steps above, you will need to create a task via the Task Scheduler application in order to ensure that Solr is automatically started any time the web server is rebooted. Perform the following steps to create a new task using the task scheduler.
- Open the Task Scheduler application on your KommerceServer web server. The Task Scheduler window appears.
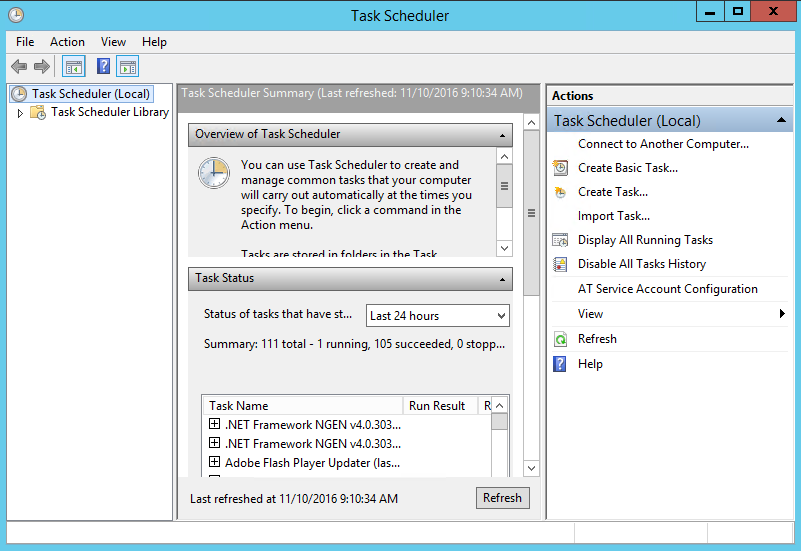
- Click the Create Task... option in the Actions area of the Task Scheduler window. A Create Task window appears.
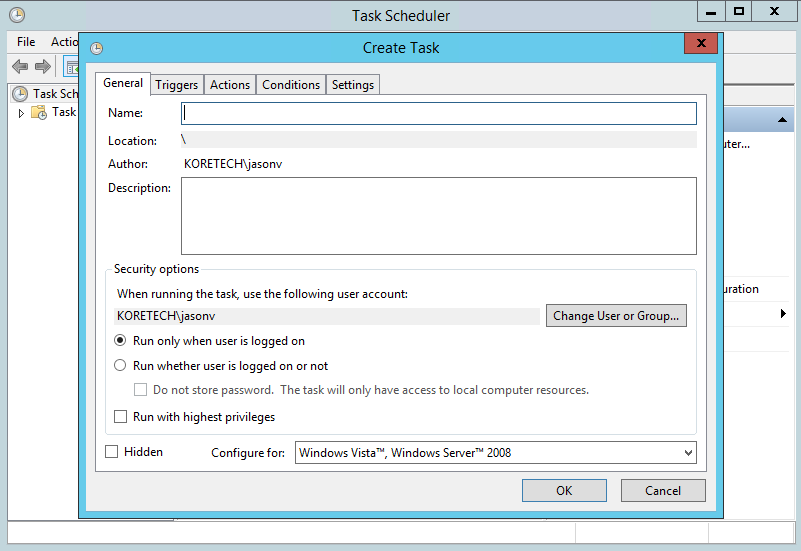
- Enter a name for the task in the Name field. For this example, we are entering Task Solr Search.
- Select the Run whether user is logged in or not radio button.
- Click the Triggers tab. The Triggers window appears.
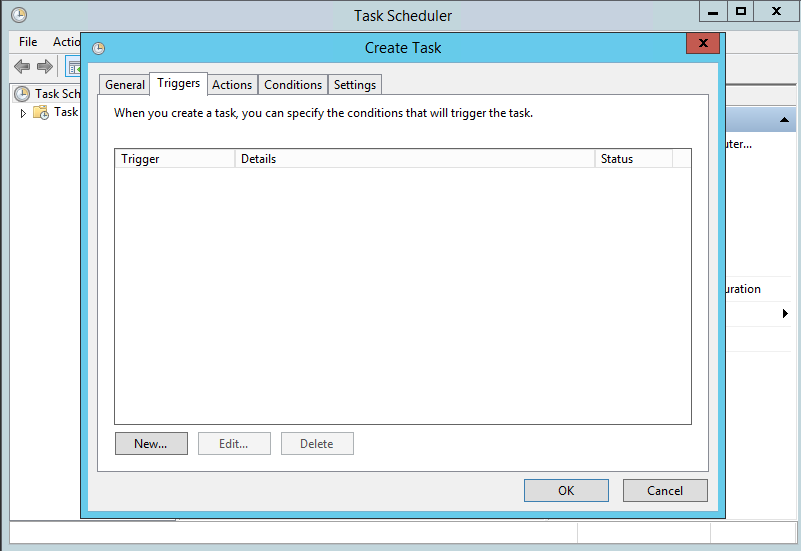
- Click the New button. The New Trigger window appears.
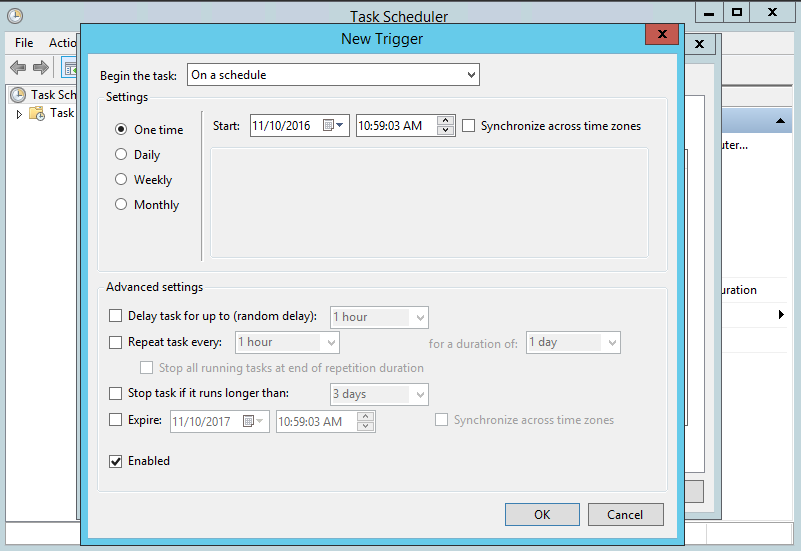
- Select the At startup option from the Begin the task drop-down menu.
- Click OK. The New Trigger window closes.
- Click the Actions tab. The Actions window appears.
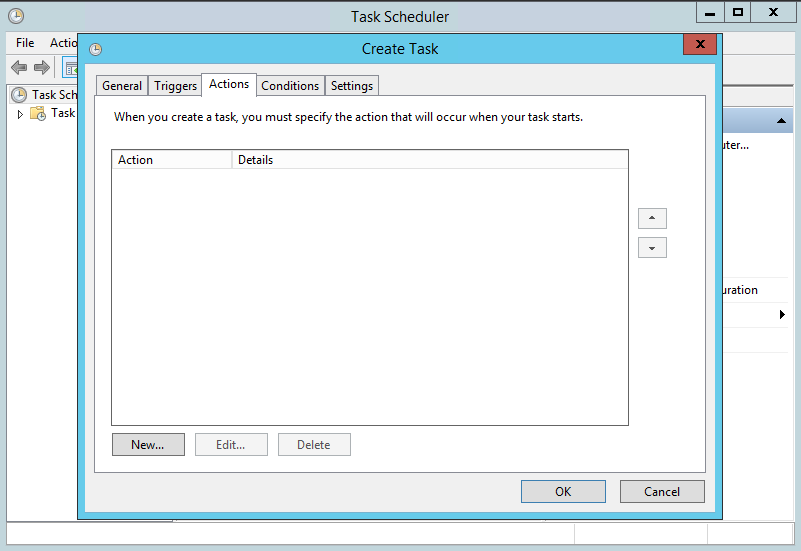
- Click the New button. The New Action window appears.
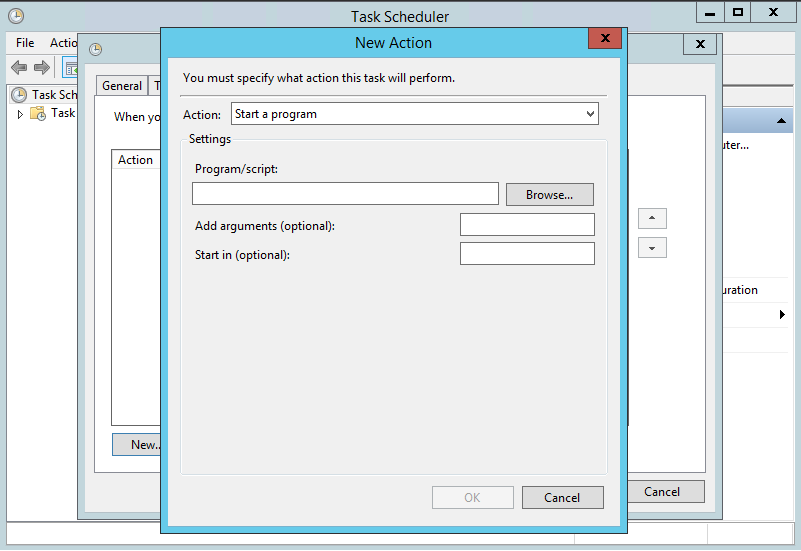
- Click the Browse button and navigate to the location that your solr-5.4.1 files are stored in.
- Open the bin directory.
- Double-click the solr.cmd file.
- Type start in the Add arguments (optional) field.
- Click OK. The New Action window closes.
- Click the Conditions tab. The Conditions window opens
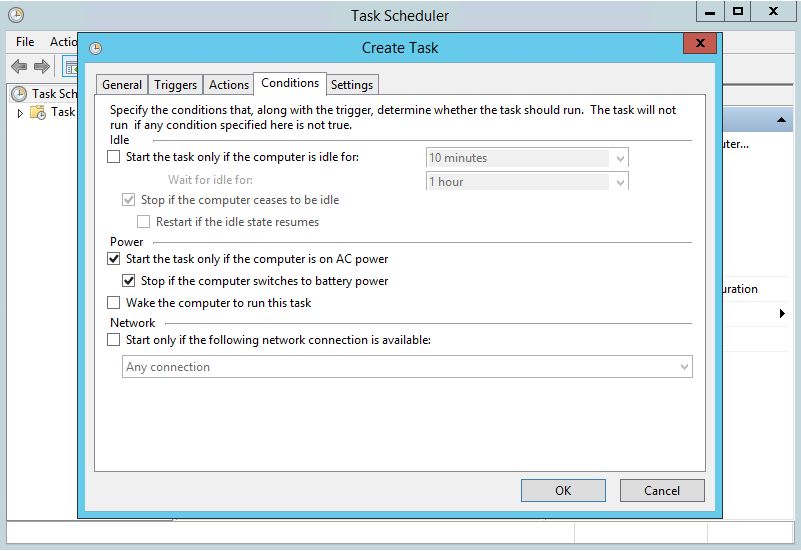
- De-select the Start the task only if the computer is on AC power checkbox.
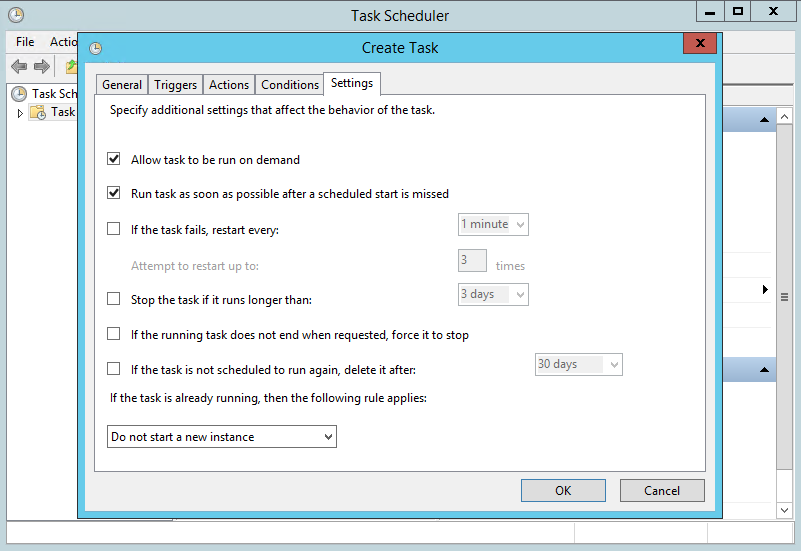
- Click the Settings tab. The Settings window appears.
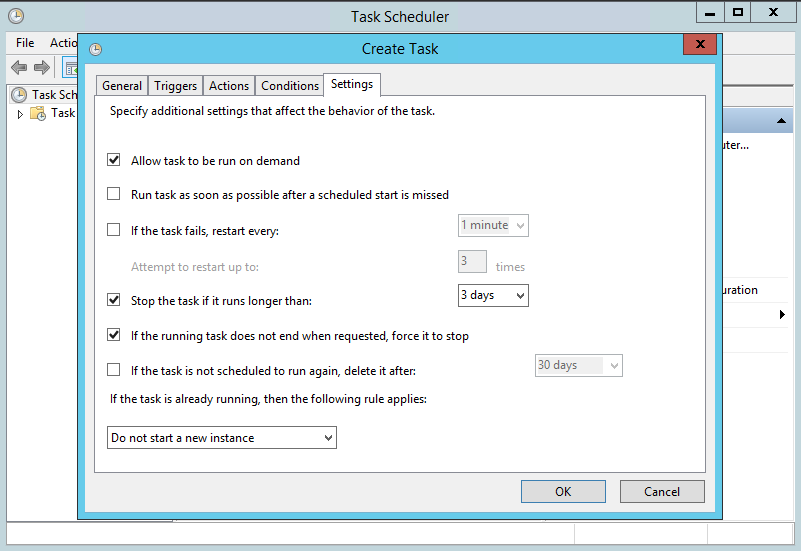
- Select the Run task as soon as possible after a scheduled start is missed checkbox.
- Deselect the Stop the task if it runs longer than checkbox.
- Deselect the If the running task does not end when requested, force it to stop checkbox. Your settings on this tab should resemble those in the following example image.
- Click OK. Your scheduled task is now created.